deploy a React Vite website
Deploy Your React and Vite Portfolio: A Live Example and Checklist
Running a portfolio locally is only the first step. It should open on your own domain and keep working after every update. Start with a live frontend hosted on DeployVera, then use the checklist for your own project.
An example from the founder's daily use
yusufcelalcelik.com is a portfolio for personal work and projects. It uses React and Vite and runs on DeployVera. You can inspect its pages, mobile layout and links on the live site.
We use DeployVera for our own projects, too, and run our product on infrastructure we manage. This portfolio shows how we use the infrastructure for our own work.
1. Check the production build
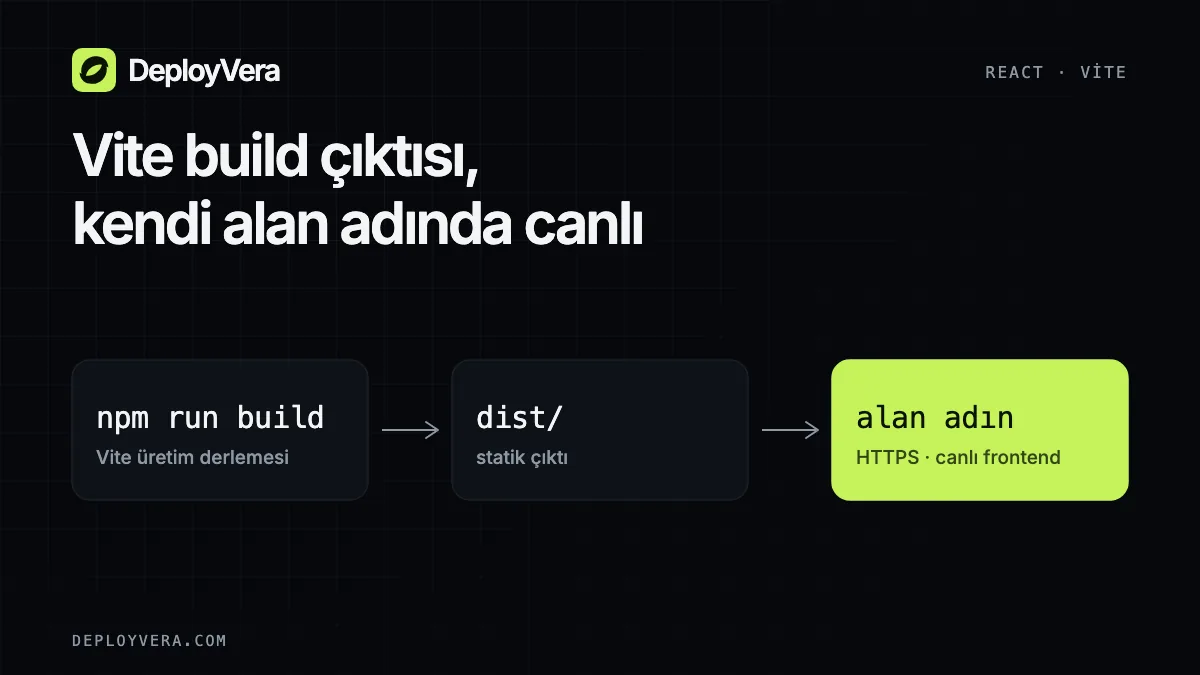
A standard static Vite project writes production files to dist when you run npm run build. Check your package.json scripts and build.outDir in vite.config, as these can differ between projects.
Use npm run preview to inspect the output locally. Preview is for local checks; production needs a configuration that serves static files. Use the following steps as a starting checklist for your React and Vite project.
- 1.Commit package.json and your lockfile. With npm, install dependencies using npm ci, then build locally.
- 2.Check that images, fonts and page links work in the production output.
- 3.Never include API keys, database passwords or other secrets in code sent to the browser.
2. Set up deployment from GitHub
Connect GitHub in DeployVera and select the project and branch to publish. For a static frontend, align the build method, static site setting and publish directory with your production output.
A default Vite project may write to dist. If you use a custom Dockerfile or build configuration, follow that configuration instead. Check both the logs and application URL after the build finishes.
- 1.Choose the correct repository and branch, and push your latest changes to GitHub.
- 2.Confirm the build settings and publish directory.
- 3.Open the application URL and test the homepage and important links.
3. Connect your domain and redeploy
When the initial URL works, add your domain and follow the DNS instructions shown in the panel. Check HTTPS after DNS changes propagate.
If the frontend uses client-side routes, open and refresh a nested page directly. A 404 on a nested page can indicate that the static server needs a fallback route.
- 1.Confirm the domain points to the correct application and HTTPS works.
- 2.Check the mobile layout, menu and contact form if present.
- 3.Publish a small content change, then confirm that the new content and links work.
4. Start with your own project
For a portfolio, marketing site or SaaS interface, first identify what you plan to deploy. If you have a separate API or database, include them when estimating resources and application limits.
Review the permanent free plan and the resource limits and prices of the paid plans on the plans page. If you need help with deployment settings, tell us your stack and where you got stuck.